
// Mockup Studio guide
How to create cinematic professional screenshot and recording mockups
A workflow for turning screenshots, product recordings, app demos, and website captures into polished mockup images or videos.
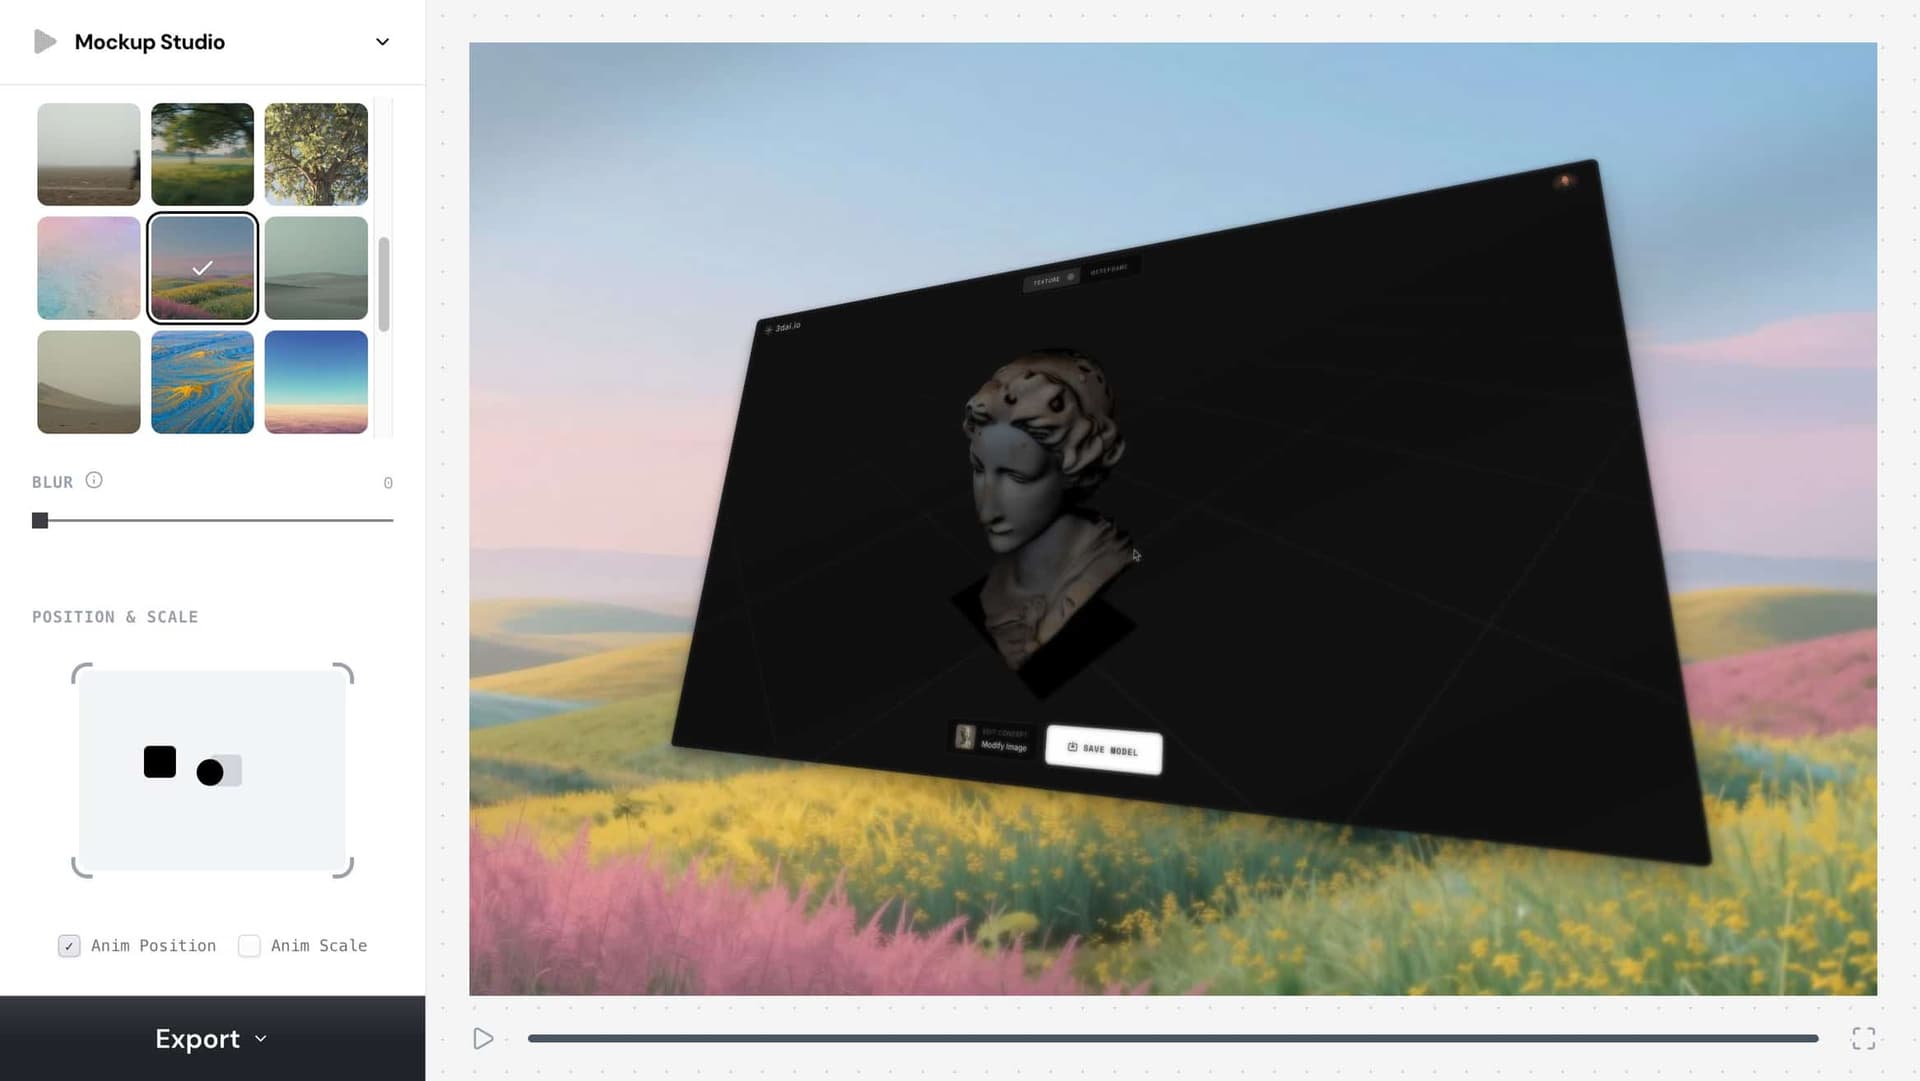
cinematic screenshot mockup
이 문구를 실전 크리에이티브 워크플로우의 목표로 활용하세요.
professional recording mockup
이 문구를 실전 크리에이티브 워크플로우의 목표로 활용하세요.
app demo mockup
이 문구를 실전 크리에이티브 워크플로우의 목표로 활용하세요.
// 워크플로우
만드는 방법
이 단계들은 사람과 재현 가능한 크리에이티브 워크플로우가 필요한 코딩 에이전트 모두를 위해 작성되었습니다.
1. Start from a clean screenshot or recording with the important UI visible and cropped intentionally.
Start from a clean screenshot or recording with the important UI visible and cropped intentionally.
2. Pick a mockup frame
Pick a mockup frame, aspect ratio, and background that matches the channel: 9:16 for Reels, 16:9 for YouTube, and 4:3 or 1:1 for product posts.
3. Use subtle motion
Use subtle motion, scale, device framing, and light background treatment to make the product feel premium without hiding the interface.
4. Export a still for thumbnails or a video for social demos
Export a still for thumbnails or a video for social demos, then keep the settings as a reusable content workflow.
// 효과적인 이유
비주얼 전략
A mockup gives raw UI context, hierarchy, and production value. It helps users understand what the product is before they read the caption.
// FAQ
Mockup Studio FAQ
What is the best aspect ratio for a product demo mockup?
Use 9:16 for TikTok, Reels, and Shorts, 16:9 for YouTube or landing pages, and 1:1 or 4:3 for feed posts and launch graphics.
How do I make a screenshot mockup look less generic?
Use the actual product UI, crop around the action, add restrained motion or framing, and avoid backgrounds that distract from the interface.