
// ASCII Generator guide
How to create an ASCII style image with AI-ready exports
A practical guide to turning photos, screenshots, and video frames into ASCII style images for social posts, thumbnails, and AI content workflows.
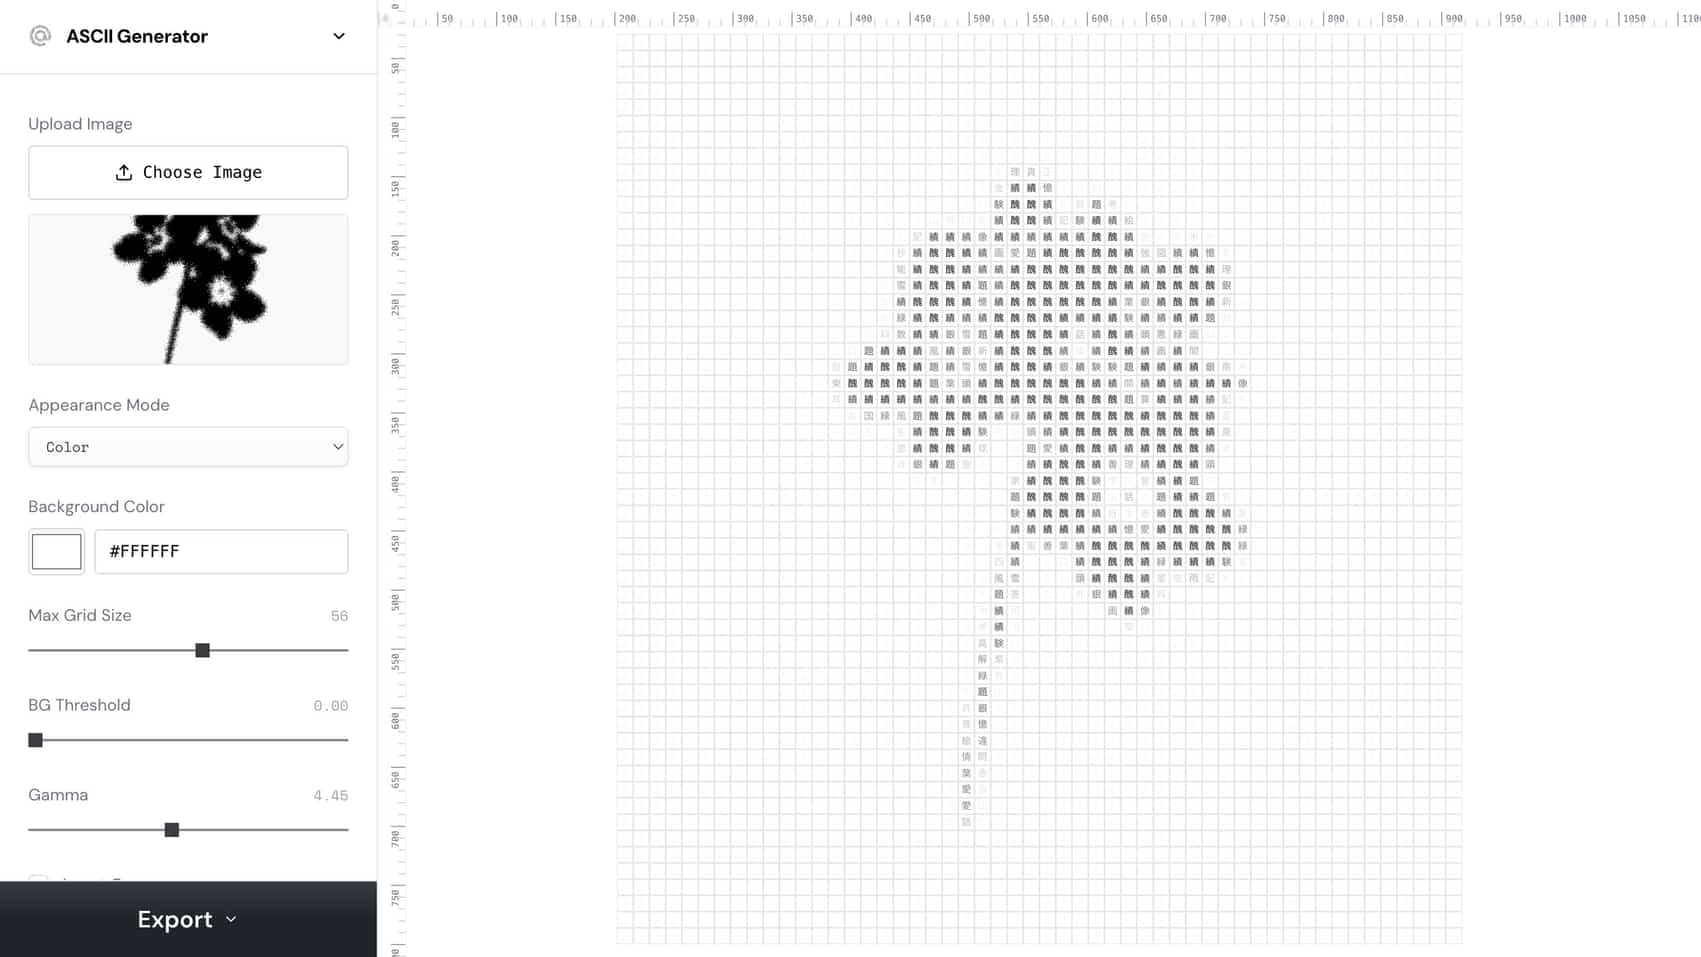
how to create ascii style image
このフレーズを、実践的なクリエイティブワークフローのゴールとして使いましょう。
ASCII image generator
このフレーズを、実践的なクリエイティブワークフローのゴールとして使いましょう。
AI ASCII art
このフレーズを、実践的なクリエイティブワークフローのゴールとして使いましょう。
// ワークフロー
作り方
これらの手順は、人にも、再現可能なクリエイティブワークフローを必要とするコーディングエージェントにも向けて書かれています。
1. Start with a high-contrast image where the subject is easy to read at small sizes.
Start with a high-contrast image where the subject is easy to read at small sizes.
2. Use the ASCII Generator to project the image into characters
Use the ASCII Generator to project the image into characters, then tune grid size, contrast, invert, and font weight.
3. Export SVG when you need editable artwork
Export SVG when you need editable artwork, PNG when you need a fast social-ready image, and video when the source is motion.
4. For AI workflows
For AI workflows, save the source, settings, and output so an agent can reproduce the same ASCII style later.
// なぜ効果があるのか
ビジュアル戦略
ASCII styling creates immediate pattern interruption because it turns a familiar image into a coded texture. It works best when the underlying silhouette is still clear.
// FAQ
ASCII Generator FAQ
What images work best for ASCII style?
Use images with a clear subject, strong contrast, and simple background. Busy low-contrast images tend to become muddy once converted into characters.
Should I export ASCII as SVG or PNG?
Use SVG for editable design systems and PNG for quick posting, thumbnails, carousels, or social video overlays.