
// Mockup Studio guide
How to create cinematic professional screenshot and recording mockups
A workflow for turning screenshots, product recordings, app demos, and website captures into polished mockup images or videos.
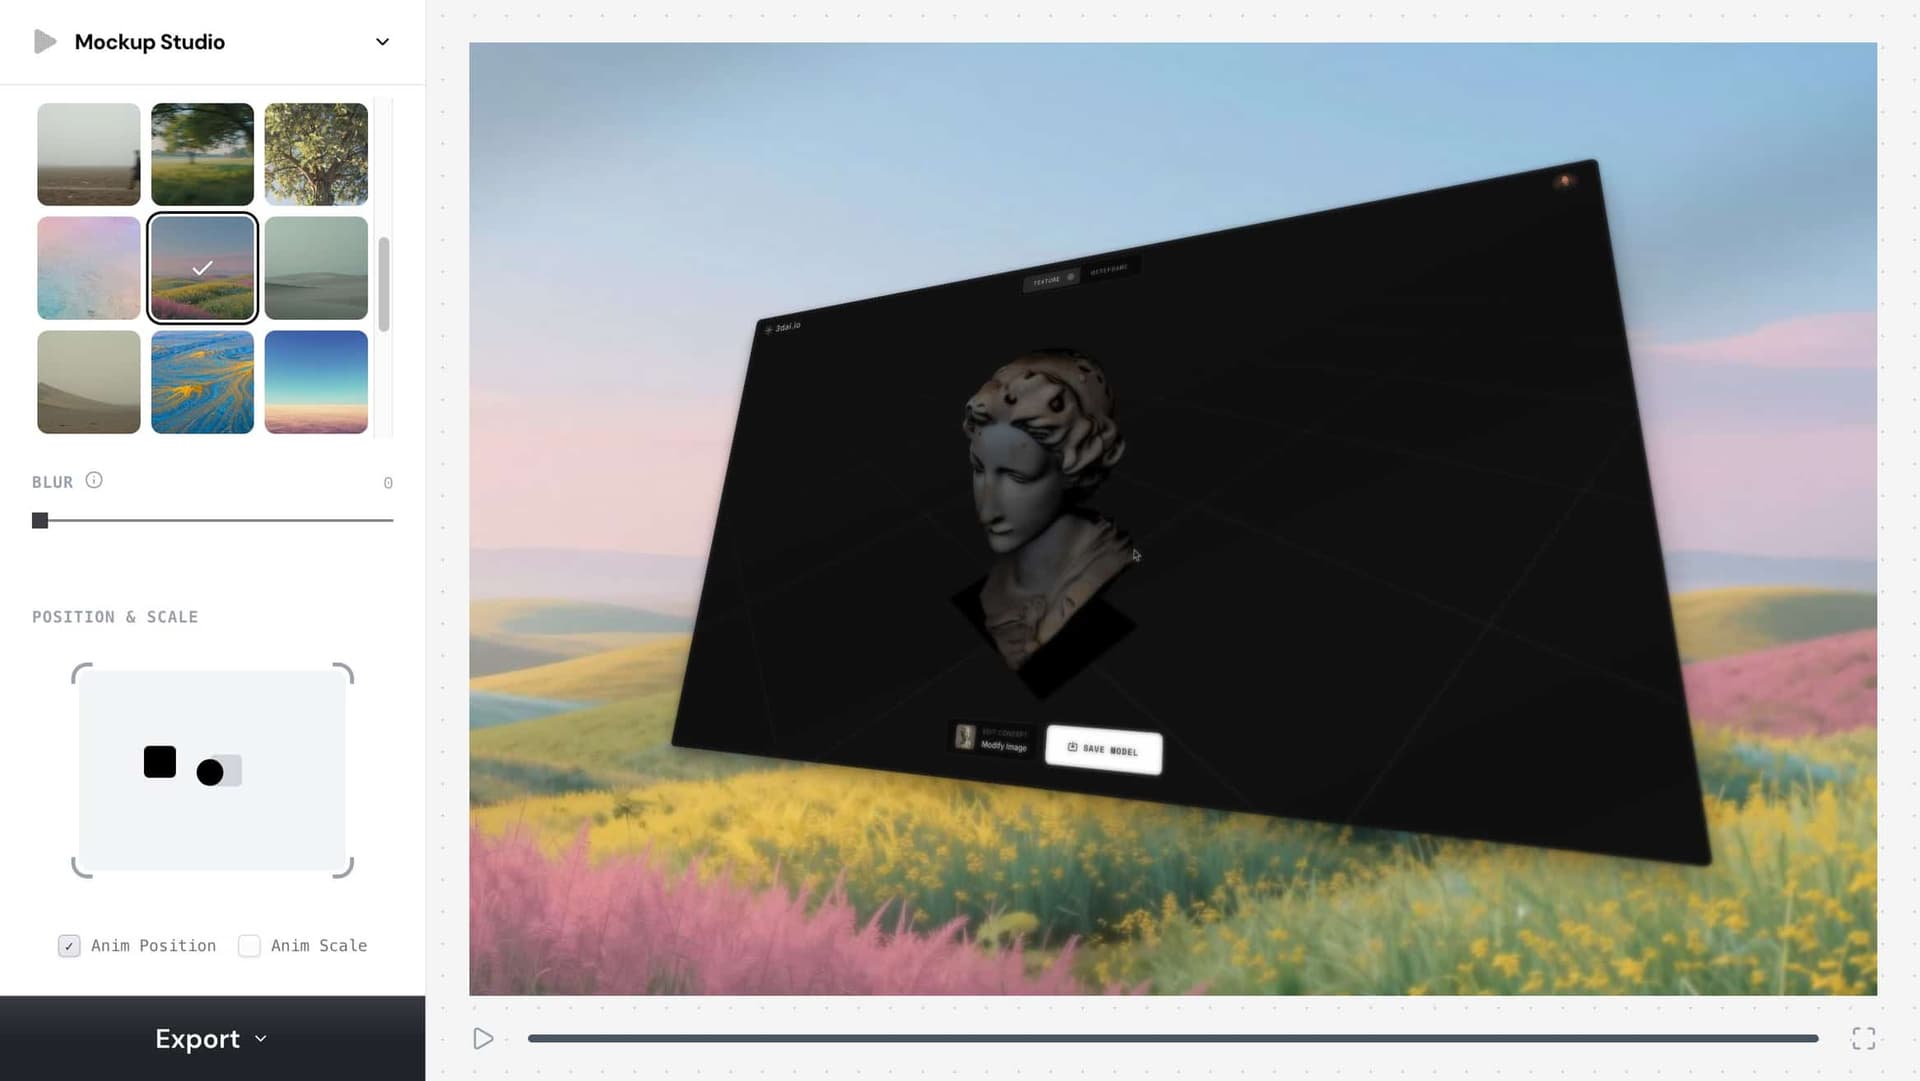
cinematic screenshot mockup
Usa questa frase come obiettivo pratico del tuo workflow creativo.
professional recording mockup
Usa questa frase come obiettivo pratico del tuo workflow creativo.
app demo mockup
Usa questa frase come obiettivo pratico del tuo workflow creativo.
// Workflow
Come crearlo
Questi passaggi sono scritti per le persone e per i coding agent che hanno bisogno di un workflow creativo riproducibile.
1. Start from a clean screenshot or recording with the important UI visible and cropped intentionally.
Start from a clean screenshot or recording with the important UI visible and cropped intentionally.
2. Pick a mockup frame
Pick a mockup frame, aspect ratio, and background that matches the channel: 9:16 for Reels, 16:9 for YouTube, and 4:3 or 1:1 for product posts.
3. Use subtle motion
Use subtle motion, scale, device framing, and light background treatment to make the product feel premium without hiding the interface.
4. Export a still for thumbnails or a video for social demos
Export a still for thumbnails or a video for social demos, then keep the settings as a reusable content workflow.
// Perché funziona
La strategia visiva
A mockup gives raw UI context, hierarchy, and production value. It helps users understand what the product is before they read the caption.
// FAQ
FAQ Mockup Studio
What is the best aspect ratio for a product demo mockup?
Use 9:16 for TikTok, Reels, and Shorts, 16:9 for YouTube or landing pages, and 1:1 or 4:3 for feed posts and launch graphics.
How do I make a screenshot mockup look less generic?
Use the actual product UI, crop around the action, add restrained motion or framing, and avoid backgrounds that distract from the interface.